My new studio is still a work-in-progress. I have more projects to work on before it will officially be done.
This is my favorite project so far! I wanted new wall shelves to hold all of my junk.
You know, to organize.
Whatever that means.
I found these shelves and some brackets at Lowe's on clearance for dirt cheap. They were perfect! Except. . . . . they were completely the wrong color.
(This technique will also work great for floating wall shelves)
I thought about spray painting them white, but painting over laminate has never worked out well for me.
Besides, something more
fun, fresh, and
colorful was in order.
But, I did spray paint the brackets white:
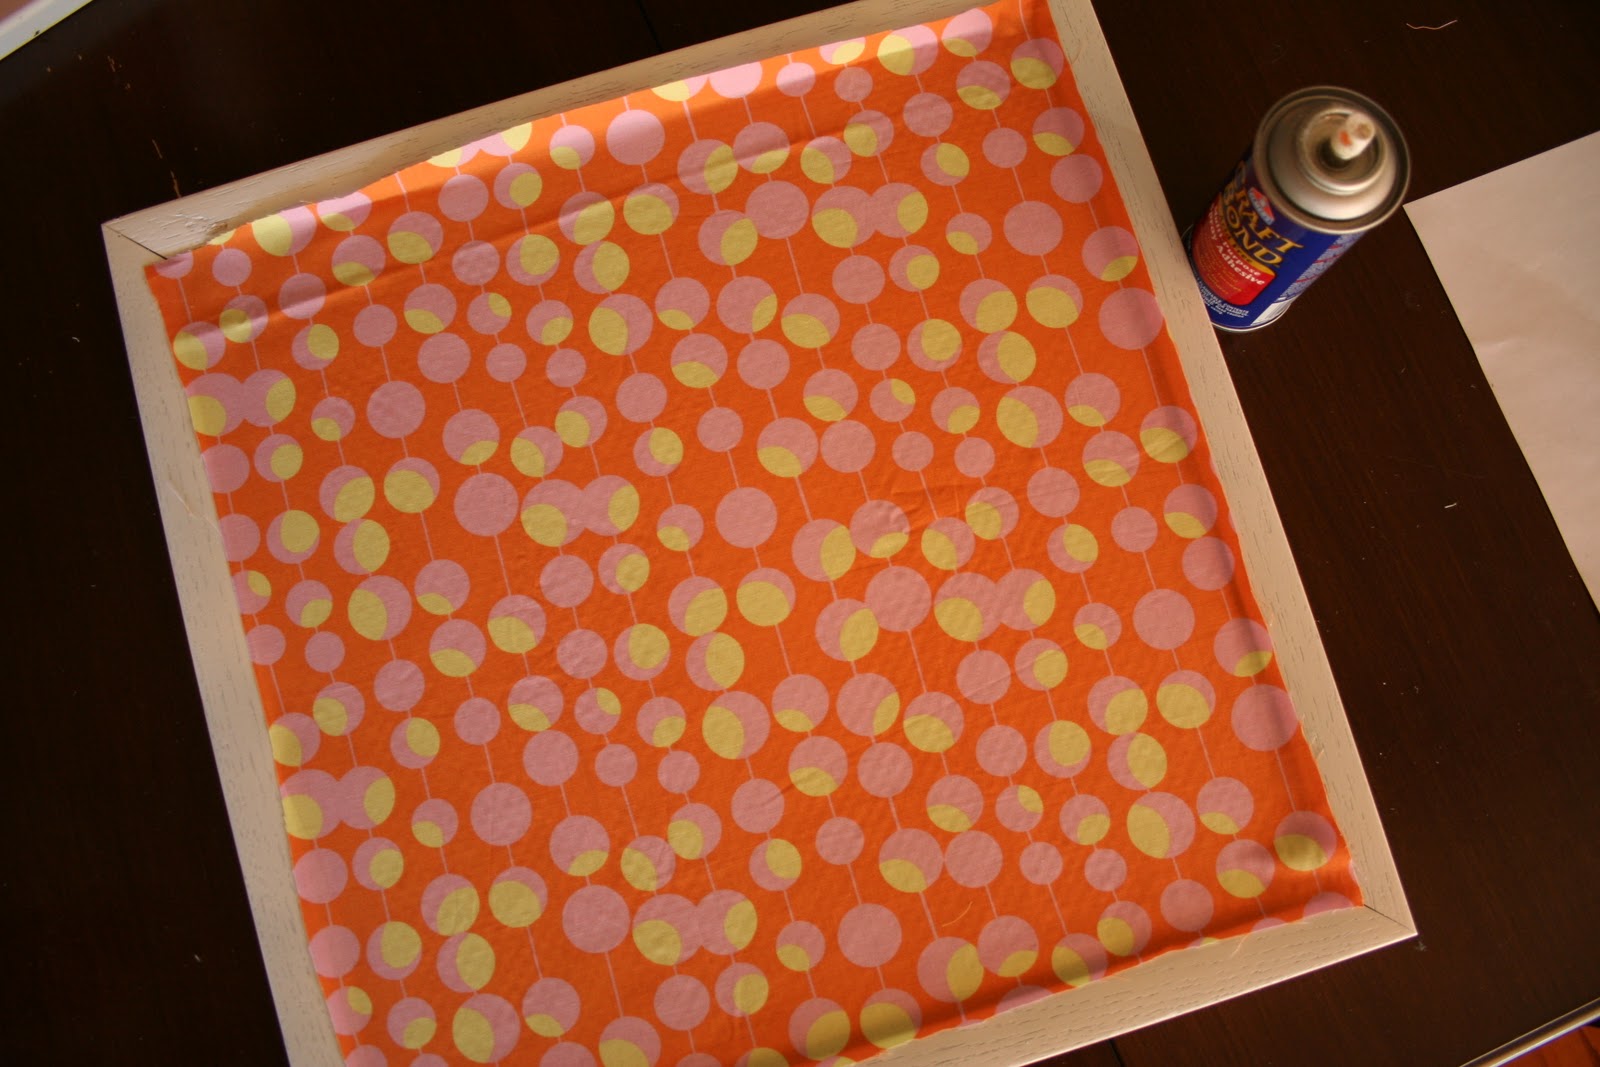
I decided to use up some of my favorite Amy Butler fabric to cover the shelves.
Green and white, cuz it looks awesome with my new orange walls!
Here's what you will need for this project:
Shelf
Brackets and screws (if needed)
Fabric
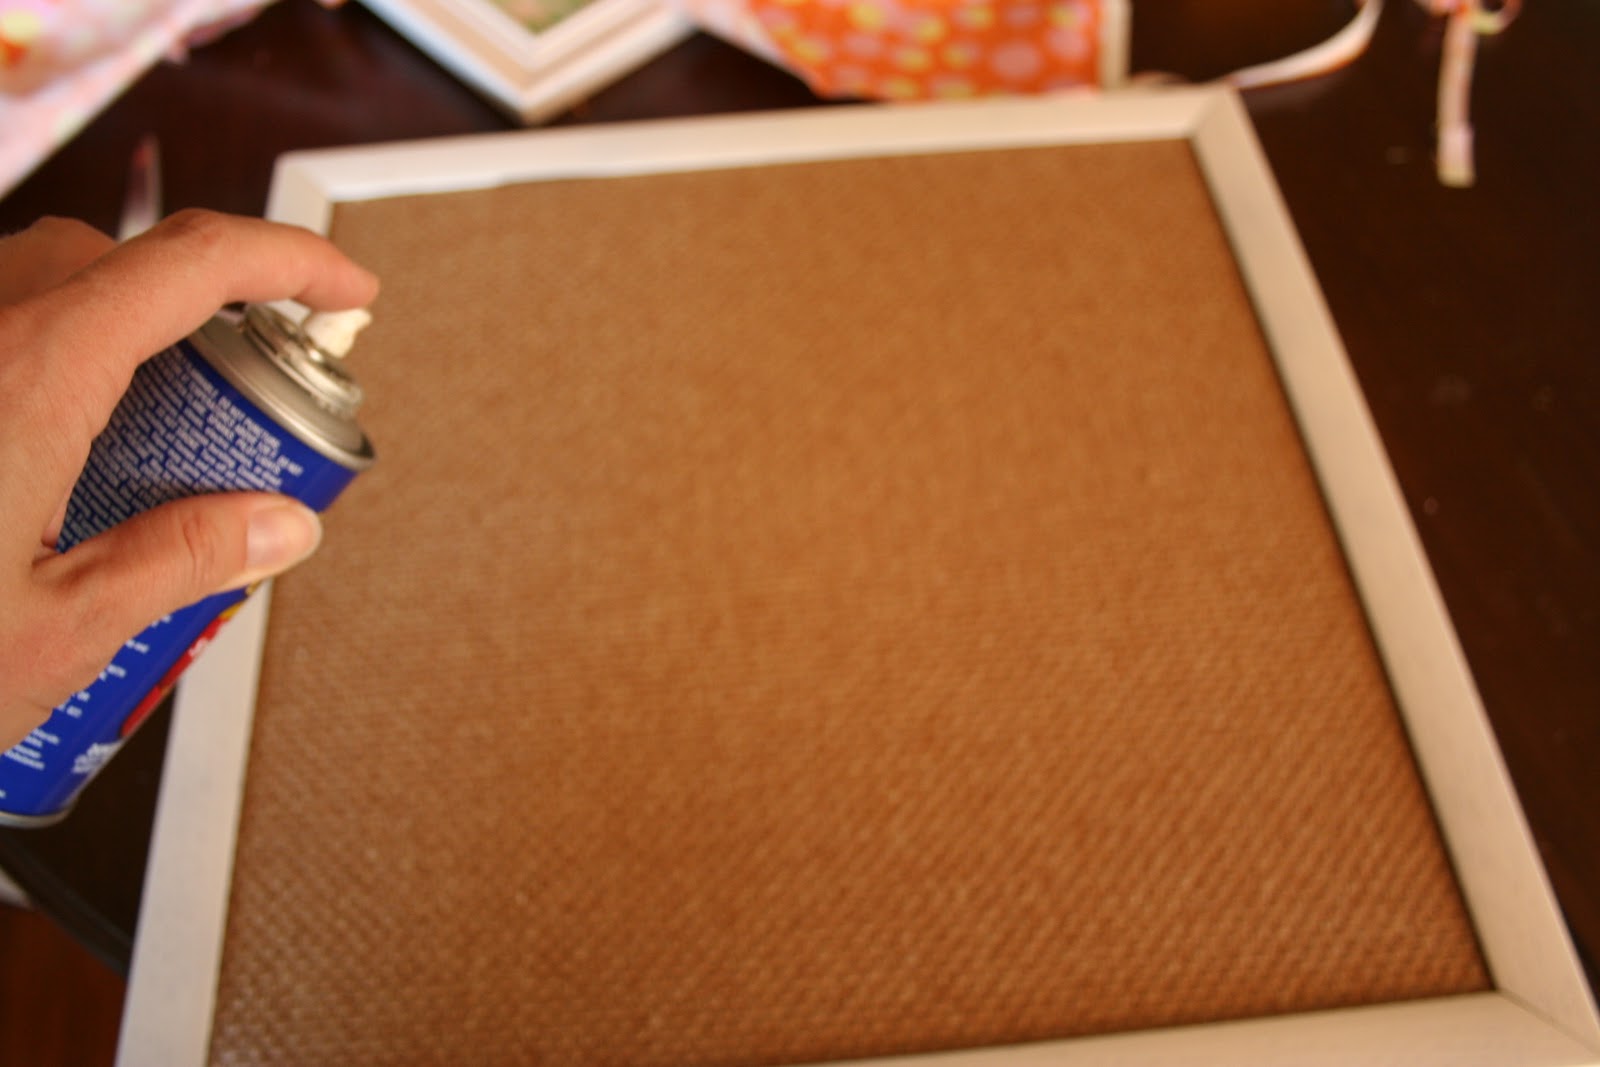
Spray Adhesive
Scissors
Hot Glue Gun
Any extra stuff to attach the shelves to the wall: screws, drywall anchors, drill, etc.
1. Measure and cut your fabric rectangle. Make sure it will cover the width of your shelf plus about 2 or 2.5 inches extra on each side. The length should be able to cover the entire top, front, and bottom, add about an inch to each side of the length.
2. Spray the top of the shelf with adhesive and lay it down onto the fabric. Stretch out any wrinkles if needed.
3. Spray the front with adhesive and pull the fabric over the front of the shelf.
4. Spray the bottom of the shelf and stretch the fabric over, stretching out any wrinkles. I didn't use much on the sides since we will still be working with them.
5. Lightly spray the sides and front corner with adhesive. (my shelf is sitting upside down in the picture ) Pull up the bottom fabric and fold the top fabric over. It's kind of like gift wrapping your shelf.
6. Use your glue gun to glue down the side. Make it look pretty as a package.
7. Trim the back edge if needed. I don't like to measure so I trim as I go. You don't want a lot of bulk on the back side because you want it to sit flush against the wall.
7. Spray the back with a small amount of adhesive, fold one edge down.
8. Hot glue the final edge.
See! So cute already. And it's not even on the wall yet!
9. Mark your brackets. Use a pencil to mark exactly where they are going to go. I recommend making a small hole in the fabric where the screws go so your drill doesn't snag your beautiful work.
10. Attach your brackets. I drilled out the holes first before attaching the brackets with screws.
11. Hang! Find a buddy to help you with this part. Use your drywall anchors or attach to your wall studs. I used 50 lb. capacity drywall anchors on one side and I secured the other side to a stud.
P.S. It also helps to have a stud holding up the shelf while you attach it to the wall. Like maybe, your husband?
Now stand back and marvel at your beautiful and unique fabric shelf!
GO YOU!